

How To Combine To Images In Photoshop
There are lots of reasons why you lot could need to learn to combine images in Photoshop. Maybe you took a family photo with one person missing, and you demand to merge photos to include anybody.
Or maybe you simply wanted to amend one epitome by combining it with a second i with some college-quality elements. Layering photos is 1 way to achieve the result you lot want.
With Adobe Photoshop, you lot can utilize layers to combine elements of more than i image to make sure that your photo has anybody you lot want.
In this article, we will look at a couple of methods to layer photos in Adobe Photoshop.

Method 1: Using Adobe Photoshop
You tin apply Photoshop to put images together using the following steps.
Step 1: Choice the Ii Images You Want to Merge
There are a few important things to note when choosing photos to combine in Photoshop.
- The two photos should have the same photographic camera settings, including the aforementioned focal length.
- The lighting should be the same in both images.
- The two photos should have the aforementioned resolution.
- Try to pick simple images considering complicated ones with detailed edges may make your piece of work in Photoshop more challenging.
- The white rest should match as closely as possible. This factor can be especially crucial if the photos are from different times and places.
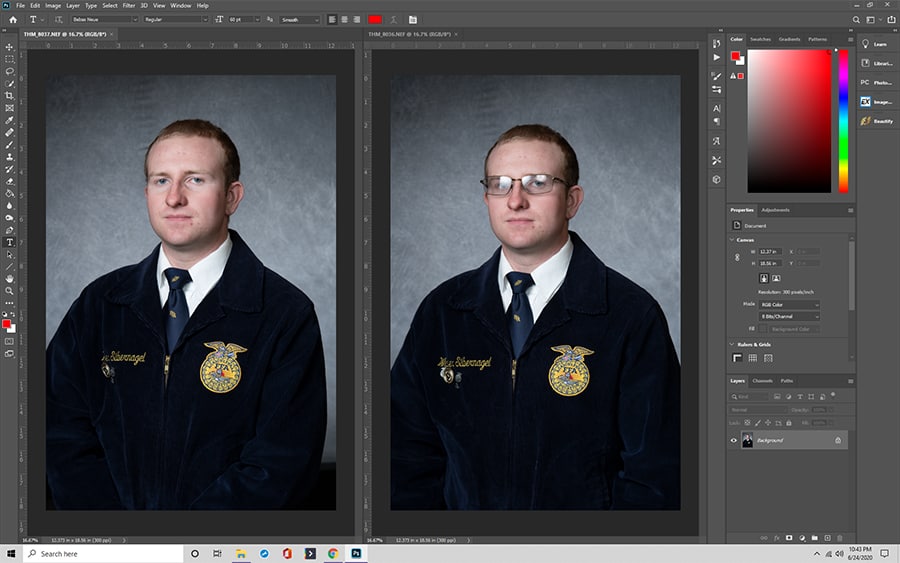
Step 2: Open the First Prototype
Open the first image. Typically, yous want to kickoff with the smallest subject area. Information technology's easier to resize the 2nd photo down than upward considering it will not result in a loss of quality.
Select the padlock icon on the paradigm layer's correct in the Layers card to unlock the groundwork layer.
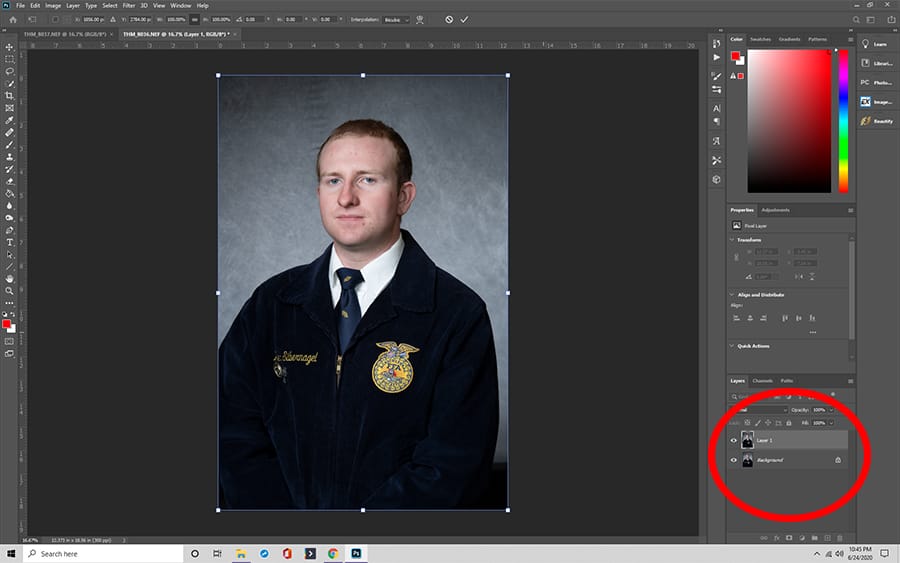
Step 3: Open Your Second Image
Next, elevate the second image from the file organisation to place it on top of the start. An X will appear around the edges to help with resizing. This method of combining 2 images makes the second photo a Smart Object. When you work with smart objects, it is easier to resize layers.
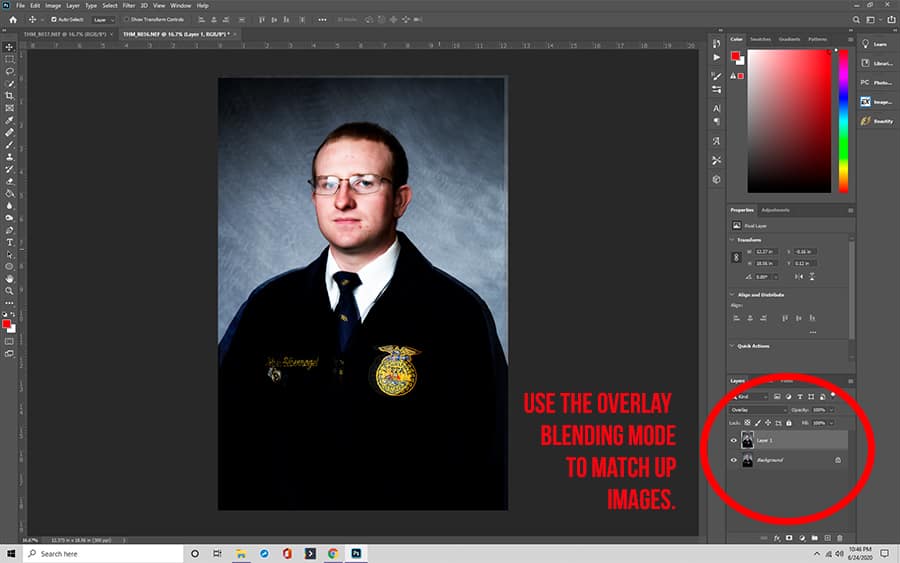
Pace 3: Position Your Images to Match
Set the blend mode of the top layer to Overlay and so you tin see the bottom layer and top layer combined. When you have this footstep, yous can position the 2 images together and lucifer them correctly.
Printing Ctr+t to enable Gratis Transform. Then, y'all can use the Move tool to position the peak image. When you are satisfied with the positioning, yous press Enter. In one case the layers become sized correctly, yous switch back to Normal mode.
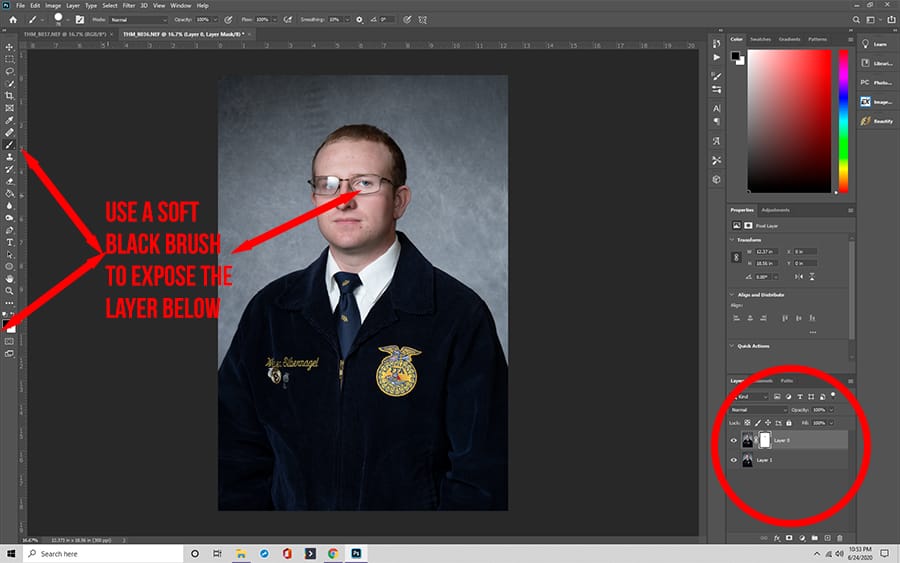
Footstep 4: Add a Layer Mask and Erase
Select the top layer and select 'Add Layer Mask' in the Layers Panel to add a layer mask. Once yous've added a layer mask, you can select the Brush tool and set the color to black at 100% opacity in your layer mask with this tool.
After adding a new layer mask and finished this step, you lot can paint over the areas y'all would similar to erase. If y'all brand a mistake, switch the castor tool colour back to white and paint over the area of the layer mask you would like to restore.
Step 5: Make Certain Everything Aligns
Switch the layer visibility off and on in the Layers Panel to see if you should work on more.
Next, you can create a layer betwixt the two original layers and fill up it with a color that doesn't appear in either of the photos. This step is vital considering it will show you whatsoever parts in the tiptop layer that you haven't erased correctly.
You can utilize the burn and dodge tools to darken or lighten the top layer so that the two layers have the same tonal value.

Pace vi: Flatten Images to Merge
Y'all will need to delete the intermediate layer you lot created in the previous step. After doing this, you can employ Flatten Image to combine the two pictures into one.
You will now have merged layers that include the selected elements from both images.

Adobe Photoshop has Unlike Methods for Combining Images
There are different ways to start the combining process.
Method 1: Merge Images via Adobe Photoshop CC
- Choose the photo that yous want to merge with the original one. You volition demand to hold your mouse button afterwards you select it.
- Side by side, move the cursor upwardly into the tab containing the file where yous want to re-create the prototype. Go on property the mouse push button down through this step.
- With the mouse push button still pressed, move the cursor over the tiptop of the new image and hold down the Shift key, which will middle the copied epitome.
- Yous can finally release the mouse push button. Both photographs are on the paradigm now, each in a different layer.
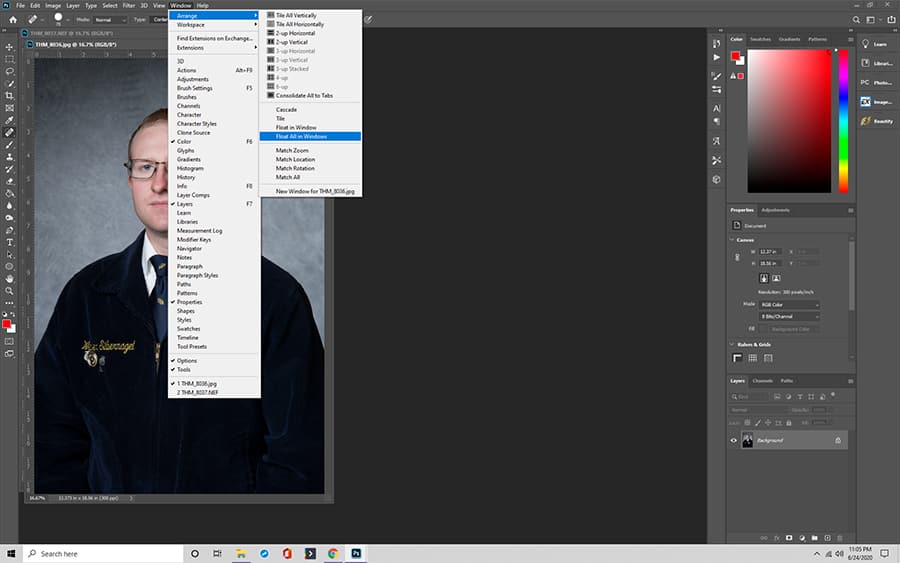
Method 2: Use Floating Windows
- On a Windows calculator, yous need to select the Window carte du jour. On a Mac, however, you will choose the Application Frame.
- In Windows, follow the instruction path Window > Arrange > Float All.
- In iOS, you lot tin can take this step without following the instruction path above. Once the Application Frame is off, the windows will exist floating, and you will exist able to click and drag an image from one window to another. Dragging and dropping will automatically combine the two photos into 1 image, and you can commencement your editing steps.
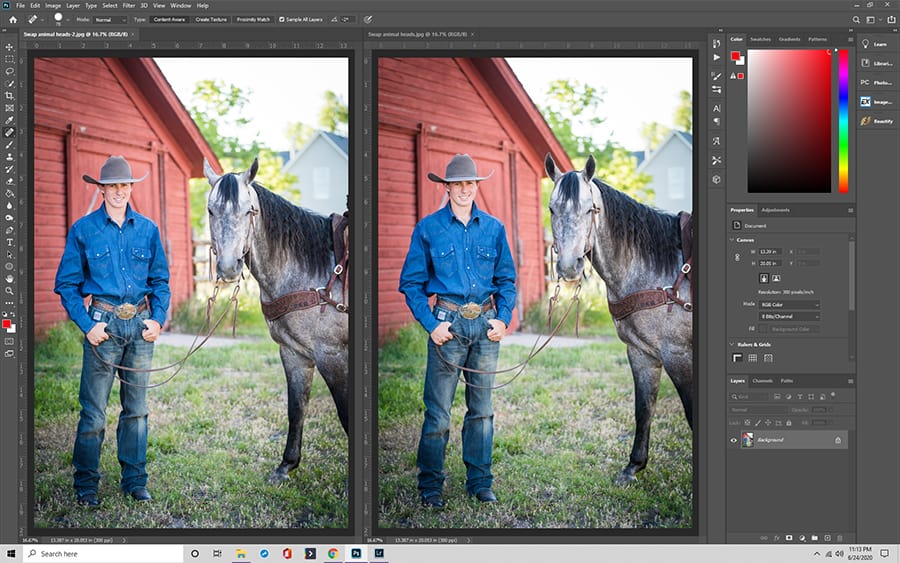
Method 3: Try Tiled Windows
- Go to Window and choose the 'Arrange' option. It would assistance if you changed the setting to something that allows yous to see the two files side by side, such equally Two-Upwards Vertical.
- For the next step, you need to drag ane file to the other 1. You lot can center the paradigm by belongings the Shift cardinal. The two layers should automatically combine, and you can beginning your editing process.

Other Details about Combining Images in Photoshop That You Should Know
In improver to the necessary steps, yous need to empathize some other aspects of image merging in Adobe Photoshop, including on the mobile app Photoshop Mix.
How to Create a Quick Composite in Adobe Photoshop
A composite is when you combine multiple (more than than two) images in Photoshop to make one new paradigm.
- Beginning with two images and combine them using any method.
- You showtime printing Ctrl+t to bring up the Free Transform tool. If any of the photos are also large for you to see its handles, you need to press Ctrl+0 to zoom out until you can come across everything.
- One time you take the handles, hold down the Shift key and drag a corner out till the images are the same size.
- Choose the Quick Select Tool and select the whole area with the tool.
- Side by side, you lot need to choose Inverse Selection or press Ctrl+Shift+I
Matching Layer Colors
If your colors do not match despite your best efforts, you lot can right them in each of the layers.
- Choose the background you want to change. Then caput over to Image Adjustments and go to Match Color.
- Cull the source that you want to lucifer, which is one of the images in your pair.
- After you cull the source, the color from that layer gets applied to the other layer.
Add Colour to All Layers Together
You tin too merge images in another mode by calculation color to all layers.
- Y'all can showtime this process by going to the Add Adjustment Layer button. You so go to Solid Colour and choose a colour that you lot want.
- Change the color to Blend mode.
- Adjacent, pull the opacity as low equally you can without making it fully transparent. The color will go dripped down onto the other layers and necktie them all together.
Replacing or Adding a Background
Adding or irresolute a background layer is one of the most common reasons for merging photos. This type of merging works like the ones discussed above, though there are a few things to consider.
For example, if you're working with fur or pilus, option backgrounds whose nighttime and lite areas match with the original context.
Adjusting Animal Heads
Animals aren't equally skillful at cooperating for a photo as humans. You can command animal poses by swapping out the heads. When you have this step, you need to consider shadows and position and menses of the fur.
Editing Human being Heads
Y'all may desire to swap human being heads as well. This process can exist simple in Photoshop, but you demand to brand sure the lighting and settings are the aforementioned. Also, y'all will usually merge the new caput with the rest of the person's trunk at their cervix. Information technology needs to be perfectly aligned to look natural.
Quick Tip: Make Certain to Take More Photos Than You Recollect You'll Need
You can hands combine them in Photoshop if you have multiple images using the layer manipulation techniques we discussed. Notwithstanding, you lot should not accept 100 photos of the aforementioned thing.
Instead, take pictures with the aforementioned lighting, lens focal length, and white balance settings. With the right settings, combining photos in Photoshop (and adding your rights reserved sticker) is much more than straightforward.
Source: https://www.colesclassroom.com/how-to-combine-images-in-photoshop/
Posted by: glassdiedich.blogspot.com
0 Response to "How To Combine To Images In Photoshop"
Post a Comment